Knowledge base
Immersive room design: dimensions, equipment and costs
Plan an immersive room for a school, therapy setting or small group: size, projection, interactive web content, site requirements, installation, training and cost factors.
A 3walls immersive room displays pictures, videos and activities across three walls. Schools can combine wall activities with group work. Therapy and small-group settings, including hospitals, can plan around their staff and participants. Start with what you want to do, who will use the room and the space available.
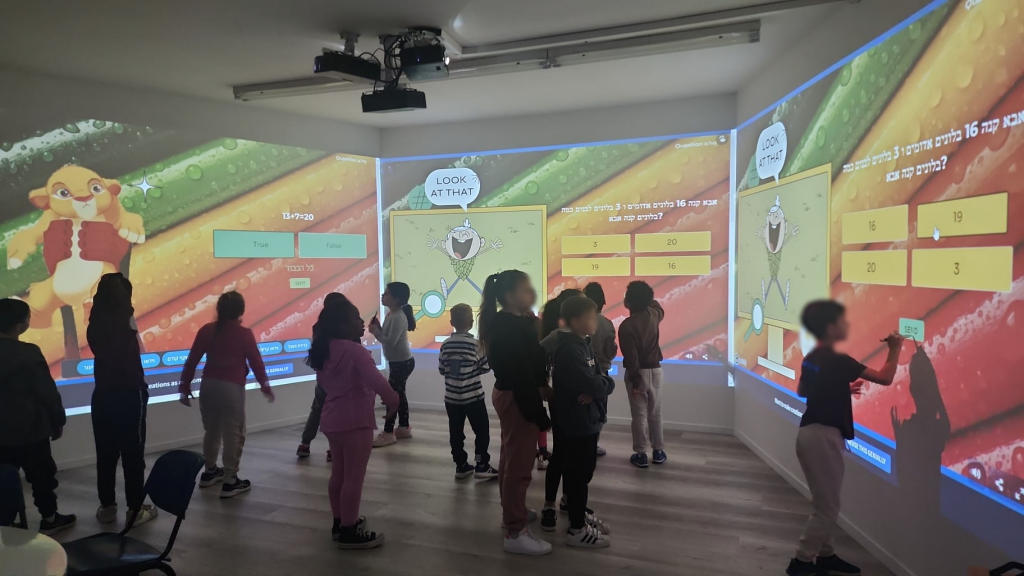
Start with your people and activities
| Planning point | School | Therapy / small group |
|---|---|---|
| Example size | Around 7 × 7 m | Around 4 × 4 m |
| Activity layout | Wall activities and group workstations | Individual or small-group activities |
| What to check | Group size, movement and whether everyone can see | Participants' needs, accessibility and staff activities |
These sizes illustrate planning options. They are not minimum dimensions, and each room needs to be checked individually.
What determines the cost of an immersive room?
The price depends on equipment, room preparation, installation, content and training, as well as what software and support are included and for how long. Ask for the setup cost, the work you need to arrange and what happens after the software and support period ends. Compare quotes that cover the same activities, audience and period.
| Item to confirm | What the quotation should specify |
|---|---|
| Equipment and installation | Equipment, installation and checks included in the price |
| Software and content | Content Editor, content access and the languages of selected activities |
| Training and ongoing support | What help is included, for how long, and what happens afterwards |
| Room preparation | Work on the room, walls and connections that you need to arrange |
| Optional extras | Additions priced separately, including a 3D-camera interactive floor |
| Warranty | Equipment supplier terms and what the software and service cover |
Prices and service arrangements depend on the project. Check what is included and who is responsible for each part at your location.
Room dimensions and wall angles
A room around 4 × 4 m may suit an individual or small group, including a therapy setting. Around 7 × 7 m is an example for a school. The example of a room 7 m wide × 7–9 m long has space for 6–7 group workstations. These are examples only: check the planned activities, movement and accessibility in each room.
Initial planning starts around 2.5 m in height. The preferred width for each projection wall is about 3.5–3.6 m, with angles of 110–120° where the walls meet. Wider angles make it easier to see the side walls. The room comparison later on this page illustrates the difference. Explore the options in the room visualization and the guide to dimensions in immersive learning.
Each wall shows a 1920 × 1080 pixel image, with a 16:9 aspect ratio. For example, an image 3.6 m wide is about 2.03 m high. Planning also needs to allow for the full wall height, clearances, projector positions and ceiling height.
Preparing the room
Existing walls can be used after checking and preparation. The walls used for projection must be completely straight, smooth and free of visible joins. If drywall construction is needed, the customer arranges it using the instructions supplied during planning.
- Use ultra-matte or dead-flat paint with 0%–3% sheen. Matte white is the default; neutral gray is considered according to projection conditions.
- Near-total darkening is preferred, with lighting planned for activities and movement according to site needs.
- Before installation, agree where the equipment, power and connections will go, and where people will move.
- Schools need suitable tables, seating and group work areas; therapy and small-group settings need furniture, routes and access adapted to users and staff.
What the system includes
The system includes three projectors, a computer and infrared sensors. The computer, connections and equipment positions are chosen for the room and its planned use. Processor models and HDMI-port counts vary between installations.
To choose a projector, check the available distance to the wall and the image width you want. Dividing that distance by the image width gives the projector's throw ratio. For example, a ratio of 0.25–0.5 with a 3.6 m wide image means a distance of about 0.9–1.8 m. This is a calculation example only. The actual lens and position depend on manufacturer specifications, the room's shape and reducing shadows when people approach the wall.
3walls software and content are developed in Israel. Support, research and development are also based in Israel; equipment comes from overseas suppliers.
Interactive walls and an optional interactive floor
Infrared sensors let participants interact with content on the walls. In a supported activity, they can select an answer or activate an item shown on a wall. What they can do depends on the activity and how it is set up for the room.
An interactive floor using a 3D camera can be added at an extra cost. Its suitability for the room and what is included are checked separately during planning and quotation.
Content library
Choose library activities for the people who will use the room and what you want to do. Schools can choose by subject and group; teams in therapy and small-group settings can choose for their planned activities. Check that each activity suits the participants.
A lesson can move between pictures, videos and web pages. Each wall can show separate content, or a panoramic picture or video can span all three. English availability varies by activity: the full Hebrew catalogue is not available in English. Check the language and suitability of the activities you want to use. See the guide to creating immersive room media.
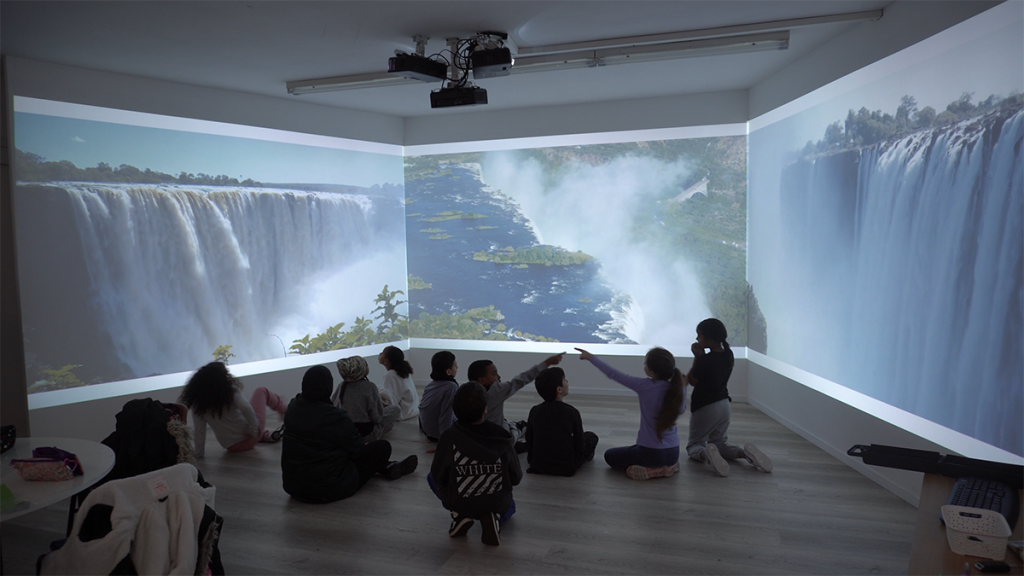
Creating your own room content
With 3walls Content Editor, your team can arrange pictures, videos and suitable web content into activities for the room. Sources can include Genially, Canva, Wordwall, Google Street View, H5P, ThingLink, Google Slides and Forms, YouTube and Vimeo, Google Maps and OpenStreetMap, Scratch and custom HTML.
Some websites and tools restrict whether their content can appear inside another system. You may need an account or permission, and the service must be available. Check that your chosen content works in the room before using it. You can also combine wall activities with tasks on tablets or computers at tables, depending on the group's needs and the institution's equipment.
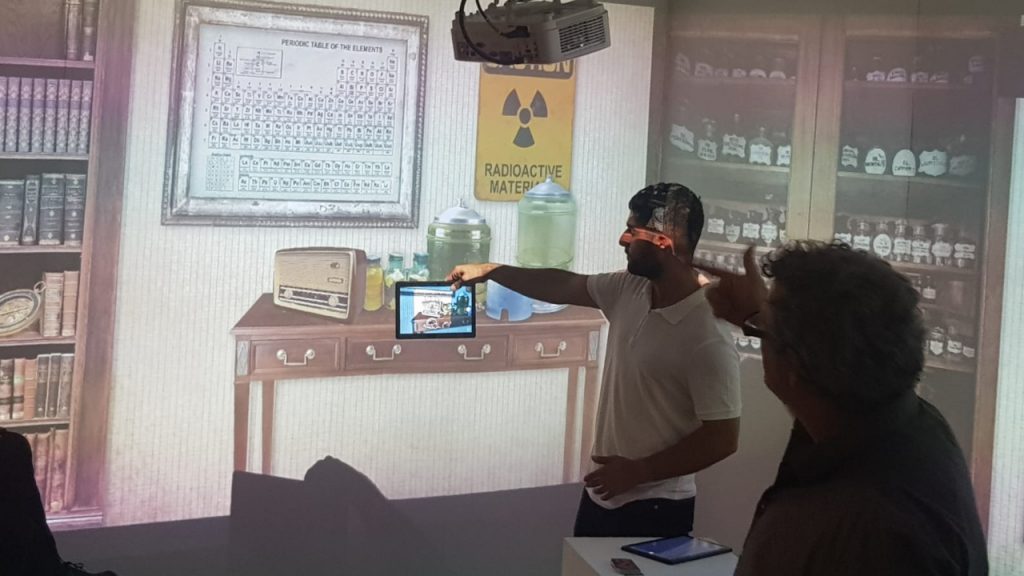
3walls Immersive AI
With 3walls Immersive AI, you can create games for the room with help from AI. Start with what you want participants to do, then review the content and try the game in the room before using it with an audience.
The 3walls team also uses AI to create 5760 × 1080 panoramic content, media assets and worlds for projects. Custom content and experiences are assessed against the project's needs and agreed work. The production tools used by the team are not necessarily available to Content Editor users.
Installation and training
After the customer finishes preparing the room and drywall, installation and system checks typically take 1–2 days. The actual time depends on the room being ready and what needs to be installed.
Training covers how to run the room and use Content Editor. For schools, it can include combining wall activities with group work; for therapy and small-group settings, it is adapted to the activities staff plan to run. Confirm who is responsible for installation, training and service when planning your project.
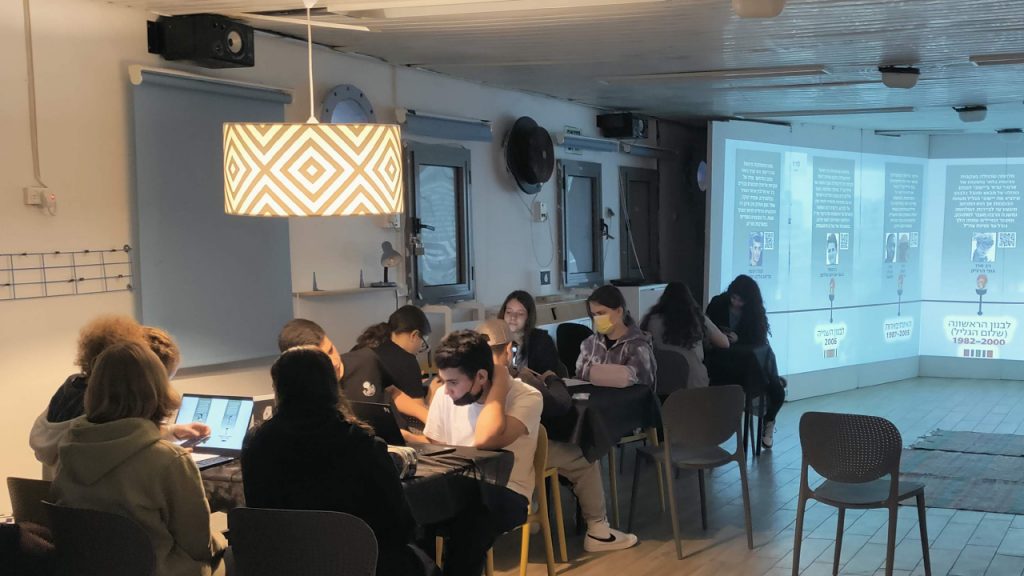
Ongoing support, community and optional sharing
You can continue to get help with running the room and creating content, according to what is included in your quotation. Check what support is available and for how long.
The user community is a place to exchange ideas and content. You choose whether to share your work, and must have the rights and permissions to do so. Before sharing pictures, names or other identifying details of students, patients or participants, get appropriate consent or remove the details that identify them.
Warranty, service and room preparation
The equipment warranty follows supplier terms. Your quotation sets out what software and service are included and for how long. The service period does not replace the equipment warranty conditions.
3walls provides instructions for preparing the room. The customer arranges building preparation and compliance with electrical, fire, accessibility and local-code requirements, with the relevant professionals. The team using the room also checks that the activities suit its participants.
| 3walls | Customer and site professionals |
|---|---|
| Provides room preparation instructions | Prepares the building, room and drywall |
| Installs the system after site preparation | Addresses electrical, fire, accessibility and local codes |
| Shows staff how to run the room and editor | Checks that activities suit the participants |
Room capacity: can everyone see the walls?
How many people fit in the room, and can they all see the walls clearly? These are separate questions. The 3walls room comparison shows 24 participants, with each seat marked as having good, limited, or poor visibility. In the starting seating arrangement, the older 90° layout gives 0 of 24 seats a good visibility rating, while the wider 114° layout gives 20 of 24 that rating.
For schools and larger audiences, a wider angle is needed to give more people a good view of the content. We also prefer a wider angle for an individual or small group because they can see the side walls more directly. The older 90° layout remains an option for a small room and audience, but it is no longer our preferred layout.
- The room comparison shows 24 participants.
- Green means good visibility, yellow means limited visibility, and red means poor visibility.
- The comparison shows more places with a good view in the 114° layout than in the older 90° layout.
- Actual room occupancy must still follow floor area, exits, accessibility requirements and local regulations.
The comparison shows which parts of the projection walls are visible from each seat and at what angle. It does not test text readability. The numbers describe the room and seating arrangement in this comparison only. They do not set a legal occupancy limit or promise the same view from every seat in every installation.
Frequently asked questions
Do we need a 7 × 7 m room?
No. Those are example dimensions for a school room. A space around 4 × 4 m may suit an individual or small group. Check the room's dimensions, wall angles, movement, access and planned activities before deciding.
Can we use our existing walls?
Yes, if they are suitable for projection and after the necessary preparation. The walls must be completely straight, smooth and free of visible joins, with an ultra-matte finish and suitable light control.
What determines the cost?
The price depends on equipment, room preparation, installation, content, training and what software and support are included. The 3D-camera interactive floor costs extra. Ask for a quote that explains what is included and who is responsible for each part.
Can our team create its own content in English?
Your team can arrange pictures, videos and suitable web content into activities with 3walls Content Editor. Check each activity's language: English availability varies, and the Hebrew catalogue is not fully available in English. Other tools must be available, you need the required accounts and permissions, and their providers must allow the content to appear inside the system.
What needs to happen before installation?
Finish the room and drywall preparation using the agreed instructions, arrange power and connections, and check building, fire and accessibility requirements. Once the room is ready, installation and system checks typically take 1–2 days, depending on what needs to be installed.
What should we compare between immersive room proposals?
Check that the quotes cover the same activities, audience and service period:
- How content appears on the walls, whether participants can see it clearly and how they take part.
- Which activities and languages are included, and how your team can create its own content.
- What you need to prepare in the room, what installation and training include, and who does each part.
- How long software and support are included, what the equipment warranty covers and what is needed for continued use.
- The total price, what it includes and what costs extra.
Plan the room around your users
Send us the room's dimensions, ceiling height and photographs, and tell us who will use it and what you want to do. You can also explore the system demo before discussing your project.
Planning a school room? Continue to the school immersive room decision guide. For a hospital example, read about the room experience and at-home guide created with Schneider's Urology team. This is one project; each project needs its own check of what suits the audience and planned use.